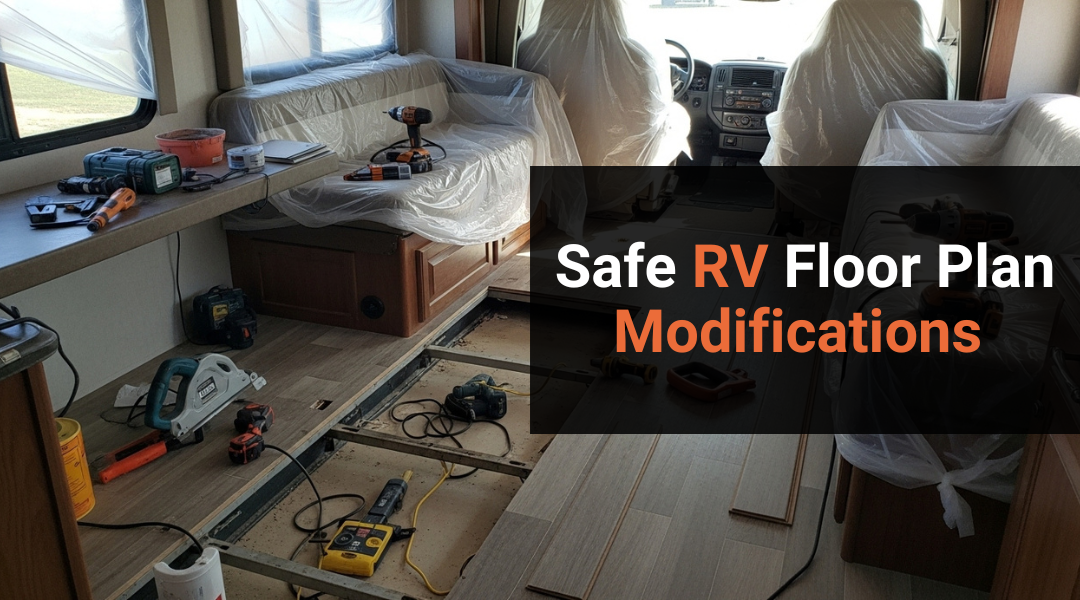
When your RV layout no longer fits your lifestyle, modifying the floor plan can make travel more comfortable and efficient. You might want more storage, better sleeping arrangements, or a workspace that suits remote work. You can safely modify your RV floor plan by planning carefully, understanding the structure and systems involved, and knowing when a professional’s help is essential.
Changing the layout goes beyond moving furniture—it can affect wiring, plumbing, and weight distribution. Taking the right precautions keeps your RV safe on the road and compliant with regulations. When the project involves structural changes or complex electrical work, hiring a qualified RV specialist ensures the job meets safety standards and preserves your vehicle’s value.
At Farace’s Automotive & RV Center in Huntington Beach, experienced technicians handle everything from interior remodels to full custom restorations. Their veteran-family ownership and decades of expertise give you confidence that your RV will be modified with precision, care, and long-term reliability in mind.
When Your RV Floor Plan Stops Working for You
Your RV layout may have worked well at first, but changes in travel habits, family size, or daily routines can make the setup less functional. Recognizing when the design no longer supports your comfort or efficiency helps you plan safe, effective modifications.
Signs It’s Time to Rethink Your Layout and Functionality
If you constantly rearrange furniture or struggle to access storage, your layout likely needs adjustment. Tight walkways, blocked windows, or poor lighting can signal that the space no longer fits your needs.
Frequent travel with more passengers often highlights missing seating or sleeping areas. Likewise, if cooking, working, or relaxing feels cramped, your floor plan may not match how you now use the RV.
Common indicators include:
- Uneven weight distribution causing handling issues
- Appliances or fixtures difficult to reach
- Limited privacy or noise control between areas
When these issues persist, it’s time to consider redesigning the layout or consulting a professional for structural or system changes.
How to Safely Plan and Execute an RV Floor Plan Modification
Safe RV floor plan modifications require careful assessment, precise measurements, and adherence to structural and system limits. You must balance creativity with technical accuracy to maintain safety, comfort, and compliance.
Step 1: Evaluate Your Current RV Structure and Weight Limits
Start by identifying the load-bearing walls, frame components, and chassis layout of your RV. These parts determine how much structural change is possible without compromising safety. Review your manufacturer’s manual for weight ratings, including Gross Vehicle Weight Rating (GVWR) and Cargo Carrying Capacity (CCC).
Inspect for water damage, corrosion, or weak flooring before removing or relocating fixtures. Use a moisture meter or flashlight to check hidden areas. If the RV has slide-outs, note how they affect balance and movement.
Document all measurements and weights before beginning any work. Create a table listing each section’s approximate weight contribution to ensure modifications don’t exceed limits.
| Area | Approx. Weight (lbs) | Notes |
|---|---|---|
| Kitchen | 350 | Includes appliances and cabinets |
| Bathroom | 250 | Plumbing and fixtures |
| Living Area | 300 | Furniture and storage units |
| Bedroom | 200 | Bed frame and storage |
Keeping these records helps you maintain even distribution and prevent overloading one side of the vehicle.
Step 2: Define Your Goals — Space, Storage, Comfort, or Mobility
Clarify what you want to achieve before changing the layout. Define priorities such as increasing storage, improving traffic flow, or enhancing sleeping arrangements. Writing these goals down ensures that each modification serves a purpose.
Consider how you use your RV most often. For example, full-time travelers may need a dedicated workspace, while weekend campers might prefer larger dining or sleeping areas.
List your top three needs and match them with feasible design adjustments. Example:
- Need: More storage → Solution: Add overhead cabinets or under-bed drawers
- Need: Better comfort → Solution: Upgrade seating and insulation
- Need: Easier mobility → Solution: Remove bulky furniture or widen walkways
Align your goals with your budget and available space to avoid unnecessary complexity.
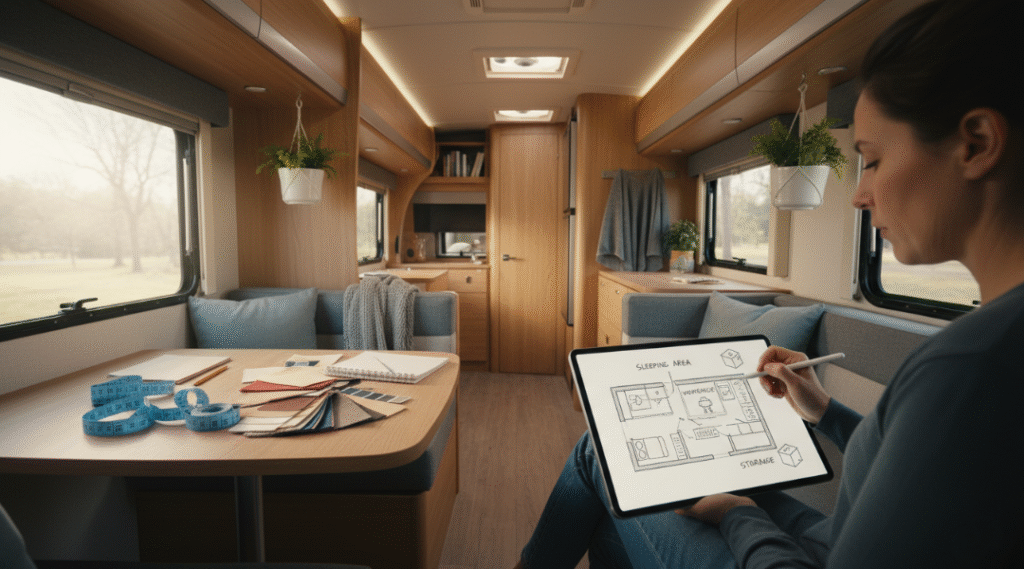
Step 3: Create a Layout Plan Using Accurate Measurements and Tools
Measure every wall, window, and fixture using a metal tape measure or laser tool. Record dimensions to the nearest quarter inch. Use graph paper or digital design software like Homestyler or SketchUp to visualize your layout.
Keep scale consistent. For instance, 1 square = 6 inches helps maintain proportion. Mark door swings, slide-outs, and appliance clearances to avoid interference.
Label all fixed systems such as tanks, vents, and wiring paths. This prevents accidental damage during construction. If you plan to move heavy furniture or appliances, verify that the new positions won’t exceed axle load limits.
Save both printed and digital versions of your plan. They serve as reference points for material estimates and professional consultations.
Step 4: Check Electrical, Plumbing, and Load-Bearing Zones Before Demo
Before removing any walls or fixtures, identify where wiring, pipes, and ducts run. Use a stud finder with electrical detection or consult your RV’s wiring diagram. Cutting into these areas can cause short circuits or leaks.
Label outlets, switches, and plumbing access points. Shut off power and water before disassembly. For safety, disconnect the RV from shore power and remove fuses related to the work zone.
Examine the subfloor and wall framing for signs of stress or rot. Reinforce weak areas with marine-grade plywood or metal brackets if necessary.
Create a checklist to confirm readiness:
- Power and water disconnected
- Wiring and plumbing mapped
- Structural supports identified
- Tools and safety gear prepared
Completing these checks minimizes risk and ensures a smoother renovation process.
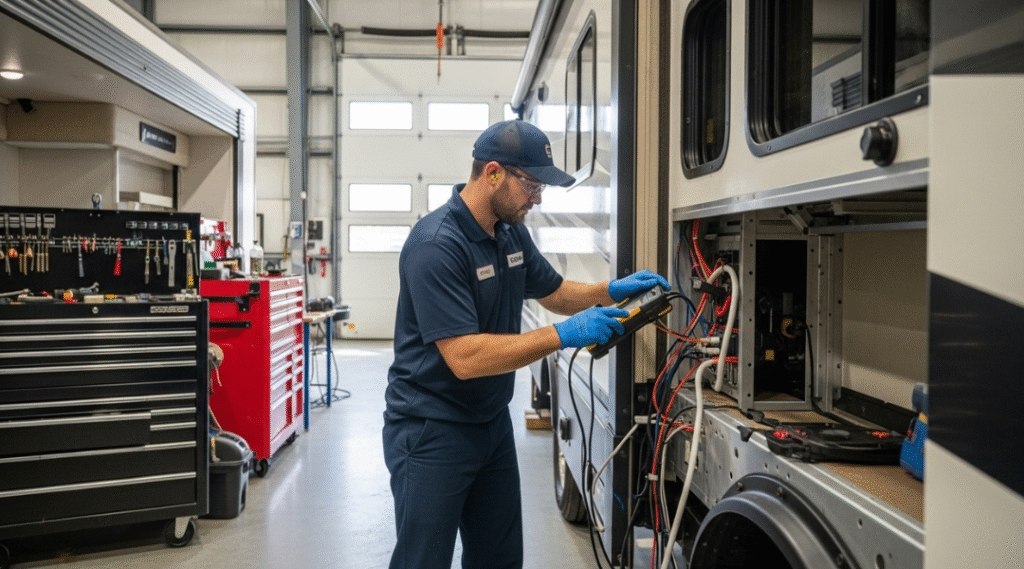
Step 5: Know When to Call a Certified RV Technician for Structural or System Changes
Some modifications require professional expertise. If your plan involves altering structural supports, electrical circuits, propane lines, or plumbing systems, hire a certified RV technician or licensed tradesperson.
Professionals can verify compliance with NFPA 1192 (RV safety standard) and local codes. They also ensure modifications don’t void your manufacturer’s warranty.
Ask for credentials and references before hiring. Request a written estimate and confirm warranty coverage for their work.
Use professionals for:
- Frame reinforcement or slide-out adjustments
- Electrical rewiring or inverter installation
- Plumbing relocation or tank replacement
- Propane line rerouting
Knowing your limits keeps your RV safe, efficient, and compliant while allowing you to focus on design and usability.
RV Remodel Costs and Key Budget Factors
Remodeling your RV floor plan can range from a few hundred dollars for simple layout tweaks to tens of thousands for full structural changes. Costs depend on your RV’s size, the complexity of the modifications, and whether you handle the work yourself or hire professionals.
What Drives Pricing for DIY vs. Professional Modifications
DIY remodeling usually saves 30–60% compared to hiring professionals. You avoid hourly labor fees, which often range from $50–$150 per hour, but you take on more risk if mistakes occur.
Material choices strongly influence costs. For example, vinyl flooring or laminate cabinets cost less than hardwood or solid-surface finishes. Using reclaimed or surplus materials can reduce expenses further.
Professionals add value through expertise in electrical, plumbing, and structural safety, which are critical when changing layouts. A professional interior overhaul may cost $10,000–$30,000+, while a partial DIY remodel could stay under $8,000.
| Remodel Type | Typical Range (USD) | Notes |
|---|---|---|
| Cosmetic Updates | $500–$2,000 | Paint, fabrics, small fixtures |
| Partial Layout Change | $2,000–$8,000 | Kitchen or bath reconfiguration |
| Full Interior Overhaul | $10,000–$30,000+ | Plumbing, wiring, structural work |
Comparing DIY RV Floor Plan Changes vs. Professional Remodels
Changing your RV’s layout can improve storage, comfort, and usability, but every modification affects structure, wiring, and plumbing. The right approach depends on your skills, available time, and the complexity of the work involved.
When a Local RV Repair Expert Saves You Time, Money, and Stress
Hiring a certified RV technician or renovation company helps when structural walls, gas lines, or electrical systems need adjustment. Professionals have the tools and permits to perform safe modifications that meet manufacturer and state standards.
You might pay $150–$225 per hour, but this often prevents costly mistakes such as floor sagging or water damage from misaligned plumbing.
A local expert can also source compatible materials faster, handle warranty-related repairs, and ensure your RV remains road-legal.
If you plan major layout changes—like moving the kitchen or extending slide-outs—professional help often protects both your budget and your safety.
Safety, Compliance, and Common Mistakes to Avoid
Modifying an RV’s layout affects more than comfort—it can impact safety systems, structural integrity, and legal compliance. Paying attention to codes, moisture control, and manufacturer guidelines helps you avoid expensive repairs and lost warranties.
Code Violations, Leaks, and Warranty Risks That Can Cost You Later
When changing walls, plumbing, or electrical layouts, you must follow RVIA and NFPA 1192 safety standards. These codes cover wiring, propane systems, and emergency exits. Ignoring them can lead to failed inspections or unsafe conditions.
Unsealed joints or poorly rerouted plumbing often cause leaks that damage flooring, insulation, and wiring. Use approved sealants and test for moisture after every modification.
Altering factory-built systems without authorization can void your manufacturer’s warranty. Before cutting or rewiring, confirm what changes are allowed. If the work affects structural or gas systems, hire a certified RV technician to ensure compliance and protect your investment.
Why Farace’s Automotive & RV Center Is the Smart Choice in Huntington Beach
You can trust a repair and modification shop that combines technical skill with long-term experience. Farace’s Automotive & RV Center provides consistent workmanship, transparent communication, and a focus on safety when handling structural or interior changes to your RV.
Veteran-Family-Owned Expertise with Over 40 Years of Trusted RV Service
Since 1976, Farace’s Automotive & RV Center has operated as a veteran-family-owned business in Huntington Beach. You deal directly with the Farace family, ensuring accountability and personal attention throughout the process.
Their technicians service and restore all RV types—motorhomes, fifth wheels, vans, and trailers—using up-to-date tools and repair methods. They handle mechanical systems, roof repairs, collision restoration, and interior remodeling on-site.
Farace’s team holds certifications for structural and appliance work, which helps maintain compliance with manufacturer and safety standards.
Key advantages:
- Over four decades of continuous RV repair experience
- Certified technicians and owner-supervised quality control
- Coordination with insurance providers for collision or body repairs
You receive reliable service backed by proven expertise and consistent results.
Farace’s Automotive & RV Center Services & Process
Farace’s Automotive & RV Center in Huntington Beach, California, provides complete RV repair and remodeling services backed by over 40 years of experience. You can expect certified technicians, detailed inspections, and transparent pricing that help ensure safe, functional, and durable results for your RV interior or floor plan modifications.
How Our Certified Technicians Handle RV Remodels from Inspection to Completion
When you bring in your RV, technicians begin with a comprehensive inspection to assess structural integrity, wiring, and plumbing. They identify any issues that could affect your remodel’s safety or performance.
After inspection, they create a custom repair or modification plan outlining materials, labor, and cost. You review and approve this plan before work begins.
During the remodel, technicians use quality-tested materials and manufacturer-approved methods. They handle flooring, cabinetry, electrical systems, and appliances with precision to maintain compliance with RV safety standards.
Once the project is complete, a final walkthrough and quality check confirm that everything functions properly. You receive a clear explanation of all updates, ensuring you understand the modifications before taking your RV back on the road.
Conclusion & Next Steps
Safe RV floor plan modifications depend on careful planning, attention to structural integrity, and awareness of your own skill limits. Knowing when to bring in a professional helps you avoid costly mistakes and ensures your RV remains roadworthy and compliant with safety standards.
Plan Your Remodel with Confidence — Contact Farace’s Automotive & RV Center in Huntington Beach for Expert RV Layout Modifications and Repairs
When you’re ready to adjust your RV’s layout, start by identifying which changes affect plumbing, electrical, or structural systems. These areas often require licensed technicians to meet safety codes.
Farace’s Automotive & RV Center in Huntington Beach offers inspection, repair, and custom layout services. Their technicians handle tasks such as:
| Service | Benefit |
|---|---|
| Electrical rewiring | Prevents short circuits and power loss |
| Plumbing rerouting | Maintains leak-free water systems |
| Structural reinforcement | Preserves frame stability |
| Appliance installation | Ensures proper ventilation and load balance |
You can schedule a consultation to review your plans, confirm feasibility, and receive a cost estimate before starting work. This approach helps you proceed with confidence, knowing your RV modifications meet professional standards for safety and function.