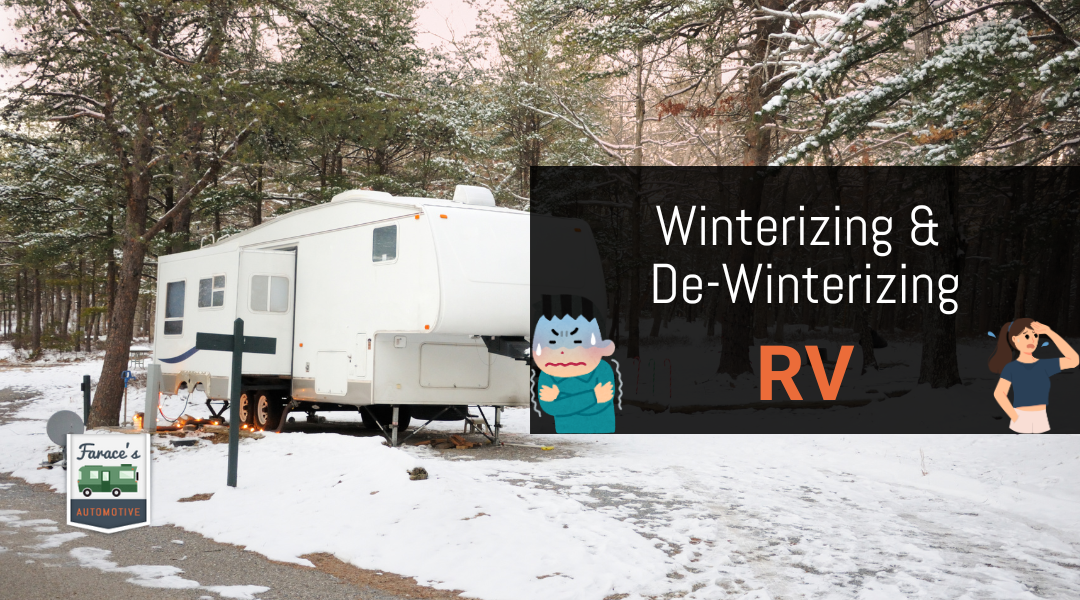
Properly caring for your RV is crucial, especially when the seasons change. Winterizing your RV helps protect it from freezing temperatures and prevents damage to your plumbing and appliances. Follow this step-by-step guide to ensure your RV stays in great condition during the colder months and is ready for adventure when the weather warms up.
When it’s time to put your RV away for winter, you’ll want to know exactly what steps to take. Winterizing your RV involves draining water systems, adding antifreeze, and inspecting the RV to make sure everything is secure. As the cold season approaches, it’s essential to follow these procedures closely to avoid costly repairs down the road.
As winter ends, the excitement of camping season begins. De-winterizing your RV is just as important as winterizing. You’ll need to remove antifreeze, check for any damage caused during storage, and make sure all systems are functional. By mastering these tasks, you can enjoy your RV without worries.
How To Winterize Your RV: Step-By-Step Instructions
Winterizing your RV is essential to protect it during the cold months. Proper steps ensure that your plumbing and systems remain safe from freezing temperatures. Here’s what you need to do.
Step 1: Drain All Water From The System
Start by draining all the water from your RV’s plumbing system. This process helps prevent freezing and damage.
- Turn Off the Water Heater: Begin by shutting off the power to the water heater.
- Open All Faucets: Open all faucets, including the shower and outside sprayers, to allow drainage.
- Drain Fresh Water Tank: Empty your fresh water holding tank completely.
- Flush the Toilet: Flush your toilet until the tank is empty to remove any remaining water.
- Use an Air Compressor: Connect an air compressor to the city water connection to blow out residual water from the lines.
After completing this step, allow all the water to fully drain.
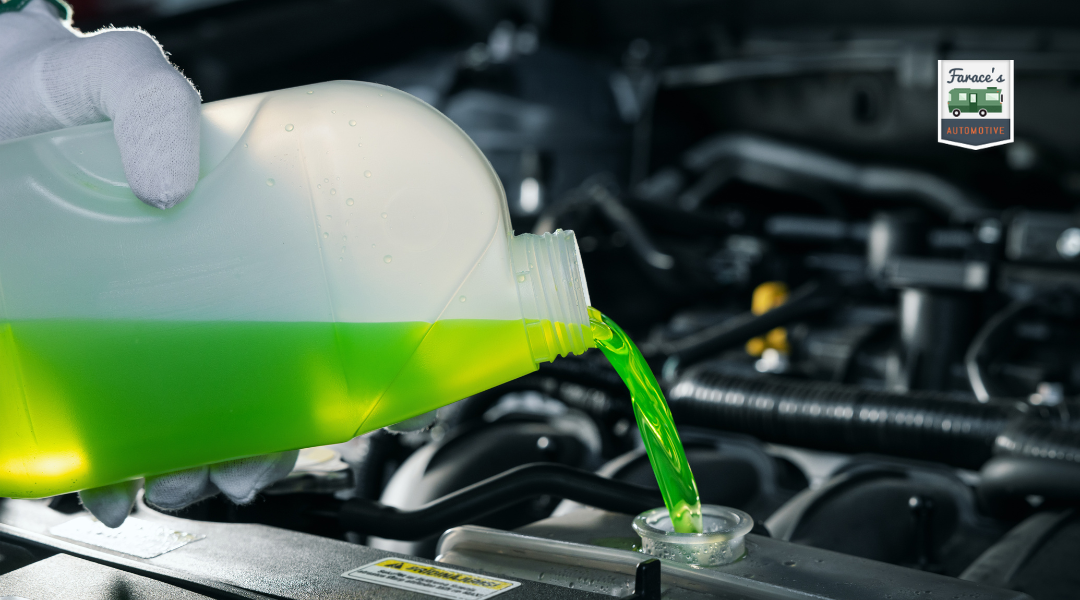
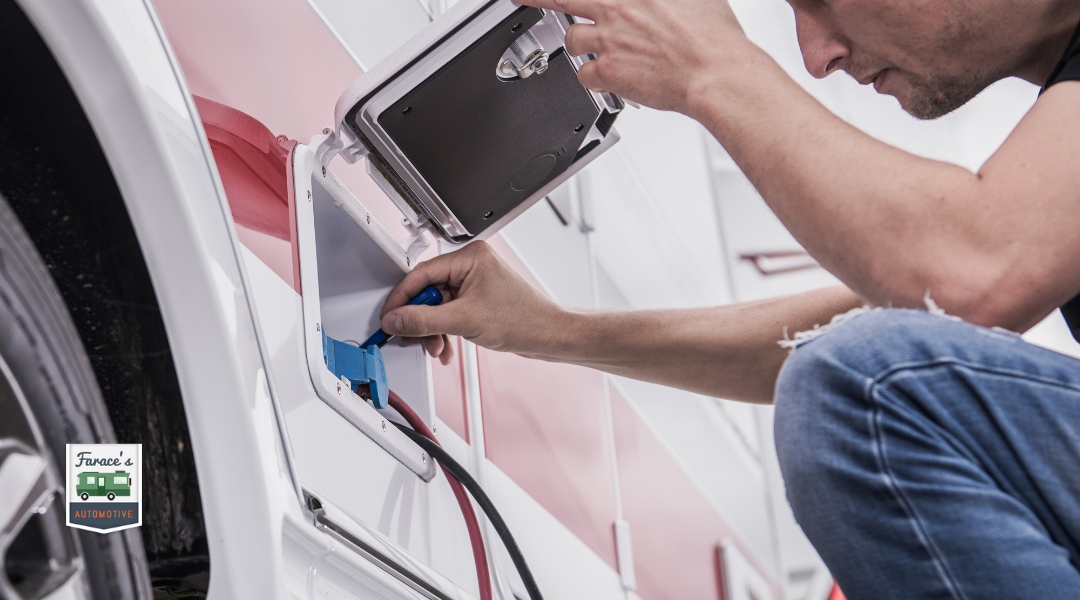
Step 2: Protect Your RV’s Plumbing
Once the water is drained, protect the plumbing system from damage. This involves adding non-toxic RV antifreeze.
- Use RV Antifreeze: Purchase non-toxic RV antifreeze suitable for use in your plumbing.
- Add Antifreeze: Pour the antifreeze into all sinks, the shower, and the toilet until it starts to flow out of the faucets.
- Check the Black Tank: Add antifreeze to the black tank as well to protect any residual waste.
This step ensures that your plumbing stays intact regardless of how low the temperatures drop.
Step 3: Clean And Inspect The RV
Cleaning and inspecting your RV before winter storage keeps it in good condition.
- Empty the Refrigerator: Remove all food and clean the refrigerator to prevent odors.
- Check the Seals and Windows: Inspect all seals and windows for leaks. Repair any issues to prevent moisture entry.
- Clean the Interior: Vacuum and wipe down surfaces, including the black water and fresh water tanks.
- Check Propane Tanks: Ensure your propane tanks are disconnected and stored safely.
This thorough cleaning helps avoid problems when you are ready to use your RV again.
Step 4: Prepare The Battery For Winter Storage
Your RV battery also needs care during winterization to ensure it remains charged and functional.
- Disconnect the Battery: Start by disconnecting the battery to prevent any drain.
- Clean the Terminals: Use a wire brush to clean any corrosion from the terminals.
- Charge the Battery: Fully charge the battery before storage. If possible, store it indoors where it stays warmer.
- Use a Battery Maintainer: Consider using a battery maintainer to keep the battery charged during winter.
Taking these steps safeguards your power source for future trips.
Step 5: Seal And Insulate Your RV For Winter
Finally, sealing and insulating your RV is crucial for protecting it from the cold.
- Use Foam Insulation: Apply foam insulation around windows and doors to prevent drafts.
- Cover Vents: Block roof vents with covers to keep out cold air and moisture.
- Protect the Undercarriage: Check for any exposed pipes or materials underneath. Use insulation where needed.
- Store in a Sheltered Area: Whenever possible, store your RV in a garage, carport, or under a canopy.
These measures help your RV withstand harsh winter conditions.
Common Mistakes To Avoid While Winterizing Your RV
When winterizing your RV, it’s crucial to pay attention to specific tasks. Neglecting simple steps can lead to serious problems when you are ready to use your RV again.
Forgetting To Drain The Water System
One of the most critical steps is draining the water system in your RV. If you skip this step, residual water can freeze and expand, causing pipes to crack.
To properly drain the system, start by opening the faucets and flushing toilets. Ensure you empty both the fresh water tank and the waste tanks. Use the low-point drains to remove any excess water.
After draining, consider using RV antifreeze in your plumbing system to prevent any remaining water from freezing. This step is necessary for maintaining the integrity of your RV’s water system.
Not Protecting The Battery
Your RV’s battery requires attention during winterization. Leaving it unattended can lead to battery damage or complete failure.
Disconnect the battery, and clean the terminals to ensure a good connection. You can also use a battery maintainer to keep it charged throughout the winter months.
If your battery is removable, consider taking it out and storing it in a warm, dry place. This method helps extend its lifespan and ensures your RV is ready to go when you are.
Skipping The Roof Inspection
Your RV’s roof is a crucial area that often gets overlooked during winterization. A compromised roof can lead to leaks and water damage.
Inspect for cracks, tears, or signs of wear in the roof material. Pay special attention to seams and joints. If you find any damage, repair it immediately.
Applying a protective roof sealant can help shield your RV from harsh winter conditions. Making roof maintenance a priority will save you from costly repairs down the line.
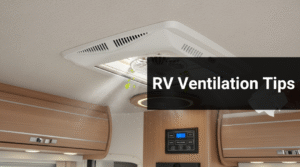
Overlooking Ventilation Needs
Proper ventilation is essential to prevent moisture buildup inside your RV during winter storage. Failing to address this can cause mold and mildew growth.
Ensure your vents are clean and open to promote air circulation. You can also leave cabinet doors slightly ajar to allow airflow.
Consider using moisture absorbers inside your RV to reduce humidity levels. Maintaining proper ventilation protects the integrity of your interior furnishings and appliances.
De-Winterizing Your RV: Getting Ready For The Road Again
As you prepare to hit the road again, ensuring your RV is in top shape is essential. This process involves checking for any damage, updating the plumbing system, recharging the battery, inspecting the tires, and cleaning the appliances. Each step is crucial for a safe and enjoyable trip.
Step 1: Inspect The RV For Any Winter Damage
Begin your de-winterizing process by thoroughly inspecting your RV for any damage that may have occurred over the winter months. Look for signs of leaks, such as water stains or damp spots on walls and ceilings. Pay special attention to the roof and seams, which can be prone to cracks or wear.
Check the exterior for cracks in the siding and ensure that the seals around windows and doors are intact. Inspect the undercarriage for rust or damage from road salt. Any issues you find should be addressed immediately to prevent further problems down the road.
Step 2: Check The Plumbing System
Next, focus on the plumbing system. First, drain any remaining antifreeze from the water lines. This involves opening all faucets and the low-point drain to get rid of any leftover fluid.
Once the system is clear, sanitize the water tank using a mixture of bleach and water. Follow this by flushing the system with fresh water to ensure the bleach is removed. Check for leaks in the plumbing, especially around connections and valves. This step is vital to ensure safe drinking water during your travels.
Step 3: Reinstall And Recharge The Battery
Reinstall the batteries in your RV and connect them properly to the electrical system. Before doing this, inspect the battery terminals for corrosion. Clean any buildup with a mixture of baking soda and water if necessary.
Once everything is clean, charge the batteries fully. Check the water levels in the battery cells and top them off with distilled water if low. Ensure the batteries are securely mounted and the connections are tight, as this will help avoid any electrical issues on the road.
Step 4: Inspect The Tires And Check Tire Pressure
Tires are critical for safe travel. Inspect each tire for signs of wear, such as cracks or bald spots. Pay close attention to the sidewalls and tread depth.
Next, check the tire pressure using a tire gauge. Make sure to inflate your tires to the manufacturer’s recommended PSI, which can typically be found on a sticker inside the driver’s door or in the owner’s manual. Don’t forget to inspect the spare tire as well. Properly inflated tires ensure better fuel efficiency and handling.
Step 5: Clean And Test Appliances And Systems
Finally, it’s time to clean and test all appliances and systems in your RV. Start with the refrigerator and ensure it is clean and functioning correctly. Allow it to run while connected to a power source and check that it cools properly.
Next, check the stove, oven, and microwave for functionality. Test the water heater and any other appliances like the air conditioner or heater. Run water through the system to check for leaks, and ensure everything is in working order before your trip. A thorough inspection of these systems can help prevent inconveniences while you are away.
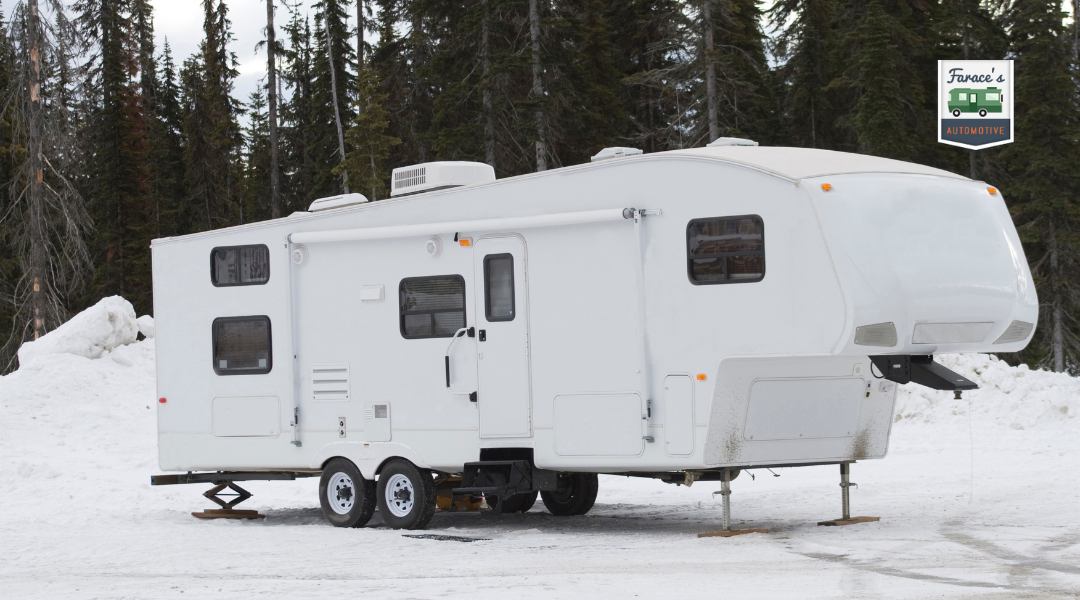
Key Tips For Storing Your RV During The Winter Months
Preparing your RV for winter storage is essential to protect it from the harsh conditions. Proper storage techniques can help extend the life of your vehicle and ensure it remains ready for the next camping season. Here are some key tips to make the most of your RV winter storage.
Best Places To Store Your RV For The Winter
Choosing the right storage location is vital. You have two primary options: indoor or outdoor storage. Indoor storage is preferable as it protects your RV from snow, ice, and extreme temperatures. Look for a secure, climate-controlled facility. However, if indoor options are limited, outdoor storage can work too.
When selecting outdoor storage, seek a site with shade to reduce direct sun exposure. Ensure the area is secure and free from debris. Always consider your local homeowner’s association rules regarding RV parking.
How To Prevent Mold And Mildew Build-Up
To prevent mold and mildew, start by cleaning your RV thoroughly, inside and out. Vacuum all surfaces and scrub areas prone to moisture, such as kitchens and bathrooms.
Once clean, ventilation is crucial. Always leave vents slightly open to allow airflow. This reduces humidity and helps keep the interior dry. Use moisture absorbers like silica gel packets or desiccants in cupboards and closets.
Don’t forget to check water tanks and plumbing. Ensure all water is properly drained. Consider using specially designed antifreeze to protect your system without causing damage.
Monitoring Temperature And Humidity During Storage
Monitoring temperature and humidity is essential to protect your RV during the winter months. Extreme cold can damage your vehicle’s plumbing and battery, while high humidity can encourage mold growth.
Invest in a digital thermometer and hygrometer to keep track of conditions inside your RV. Ideally, you want temperatures above freezing and relative humidity below 50%.
If you notice high humidity levels, consider using a dehumidifier or dehumidifying bags inside the RV. You might also visit your RV regularly to ensure everything is in order. This way, you can address any issues before the next camping season.
Expert Advice For Maintaining Your RV Year-Round
Keeping your RV in top shape requires consistent effort throughout the year. You should focus on regular inspections, routine maintenance, and protecting the exterior and roof. Each of these aspects plays a vital role in ensuring that your RV remains functional and ready for your next adventure.
Regular Inspections To Ensure Longevity
Inspect your RV regularly to catch issues before they become serious problems. Start by examining the tires for wear and proper inflation. Look for cracks, bulges, or uneven wear patterns.
Check your brake system and lights to ensure safety while driving. Additionally, examine the battery terminals for corrosion and clean them if necessary.
Don’t forget to inspect the plumbing and appliances for leaks or damage. Early detection of issues can save you time and repair costs.
Routine Maintenance Tips For Every Season
Routine maintenance is key to keeping your RV running smoothly. Regularly change the oil and filter to ensure the engine functions well. Keep the fuel system clean by adding fuel additives that help prevent build-up.
In winter, winterize your RV by draining water systems and adding antifreeze. During spring, perform a full de-winterization by flushing the water system and checking all seals for cracks.
Always clean and inspect the air conditioning and heating systems to ensure comfort during travel. Keep a detailed maintenance log to track what you have done and what needs attention next.
Protecting Your RV’s Exterior And Roof
Your RV’s exterior and roof need proper protection from the elements. Clear any debris from the roof regularly to prevent water pooling and damage. Use a soft brush to clean your roof and a safe RV cleaner to avoid scratches.
Apply a quality RV wax every few months to protect the paint and finish. This also makes cleaning easier.
For extra protection, consider using a breathable cover when the RV is not in use. This will shield it from UV rays, dirt, and snow. Regularly inspect seals around windows and doors for any deterioration and reapply sealant as needed.
By focusing on these maintenance areas, you will ensure a longer, more enjoyable life for your RV.
Conclusion: Master Winterizing And De-Winterizing For Your RV’s Health
Proper winterizing and de-winterizing are essential for keeping your RV in top shape. These tasks protect your vehicle from damage and ensure a smooth transition into your travel season. You can maintain the health of your RV by following the right steps at the right times.
Take Action: Ready To Get Your RV Winterized Or De-Winterized? Start Now!
When it’s time to prepare your RV for winter, act quickly. Begin by gathering the necessary supplies like RV antifreeze and a water pump. Follow a detailed checklist to ensure you don’t miss any crucial steps. For instance, properly drain and flush your water systems to remove any traces of water that can freeze and cause damage.
As spring approaches, you’ll need to de-winterize. This involves removing antifreeze from your plumbing system and checking all appliances. Make inspections a routine part of your process. Address any questions or repair needs as they arise to avoid bigger issues later. Getting this done early means you can hit the road with confidence. If you need assistance, seek advice from knowledgeable professionals to gain more insights into the process.